
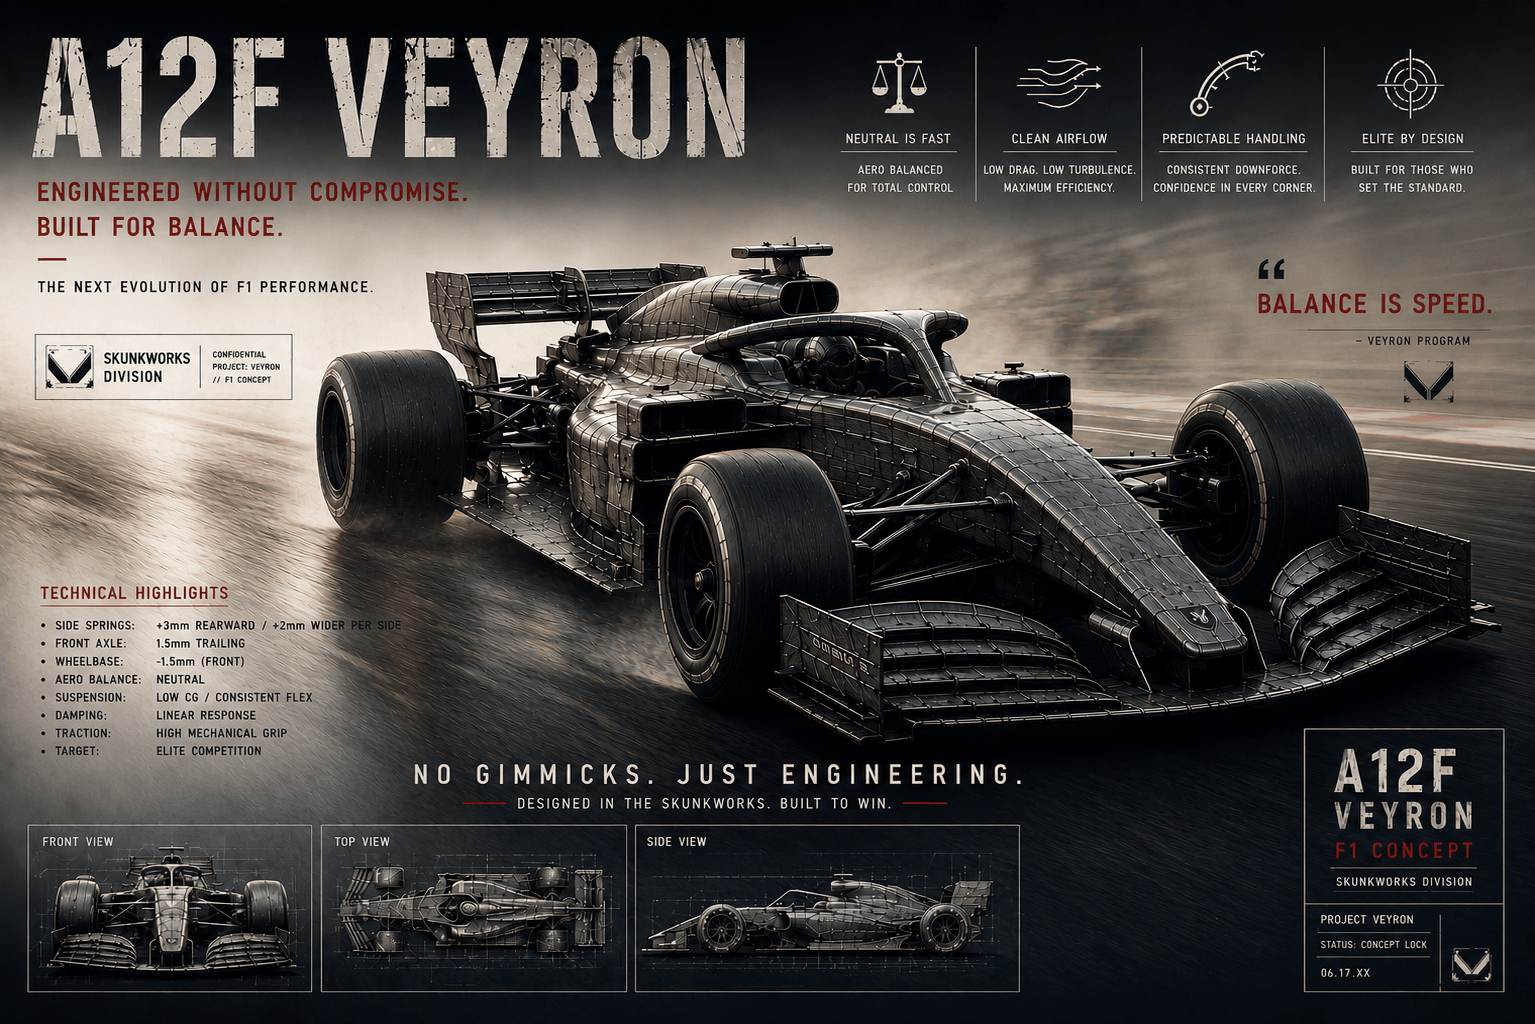
A12F Veyron Kit
Introducing something creative for those drivers who look for uniqueness, we bring the A12F Veyron kit. Designed around the winning Awesomatix A12 platform, now in the form of an F1 competition conversion kit.
What started as a single project for a racer has turned into a chance for others. We sat down to design a car that could use those OG A12’s to create a competitive F1. This project started with the intention to see if it could be done. After the initial first one was drawn, prototyped and built we made a second one for another avid F1 fan. We helped build it and put some laps down on it before seeing it really had potential. So we got going on one for ourselves to finalize what was needed and what it would become.
First you will need an original A12 as the donor car. Dust off those shelf queens and wall hangers, you’re gonna need them for this. You will need the rear pod, center damper and upper battery/chassis (including roll centers) for this. This isn’t one of those simple kits you bolt a plate on and mount a F1 body, this will be a completely redesigned front end with a new full lower 7075 Alloy chassis.
We start with the lower alloy chassis, designed and cut out of 7075 2mm alloy to meet the full F1 style of other cars. We worked our front end around mounting to the original upper chassis similar to the A12. This allowed us to use the front A12 roll center pivot and a vertical inline servo. You will get a lower 3mm CF front plate. On top of that will mount the carbon fiber suspension arms for your axles. Follow that up with a carbon fiber plate that allows the servo to be mounted in a vertical position keeping weight balanced on the front. Servo plate height can be adjusted via shims to accommodate different servos.
Front End – You will use all the original A12 axle pieces but you will also need a 1/10 scale setup station to properly set camber. You can use the on center axles or the ZTS hubs with all existing hardware or aftermarket A12 pieces. The camber holes are not a guarantee for alignment so we reccoomend using a setup station.
You will be able to use the stock 12scale wheel bearings. We got around this wheel difference by printing up some simple sleeves that will go over the A12 bearings and fit them snug in the front wheels. Eight of these will be included in the kit and available in packs of 8 on the website.
We will have an option for front arms available in a -1.5mm option that will move the king pin back 1.5mm front kit form. Similar to the options on the 12scale kit.
The lower plate will have 4 threaded inserts used and pressed in. These are just the typical Schumacher inserts used on many of their cars. The kit will come with all the ones needed. If you would like to source more you can do that through any Schumacher suppliers in either steel or alloy.
There will be 3d printed spacers to be used between the lower plate and suspension arms. There will be two sizes in the kit to help with various tires and ride height. These should get you in a ball park of ride heights around 5mm. You can use shims either on them or under the axles to fine tune your preference.
The servo mount plate will be on top of them all and give options to raise or lower different servos. Depending on your choice this will help keep the servo as low as possible to the bottom of the main chassis. Servo savers will be drivers choice. Xray servo saver will have the most options to also tune Ackerman. Others can be used like the popular Sagami and bump steer can be adjusted out at the knuckle.
Chassis: The new lower chassis will give two options for the center pivot roll center. The original A12 had 2 threaded holes, one for a grub screw used prior to the SCS being developed and one for the roll center. Either location can be used, we felt it was best to give both options. We honestly don’t know the difference in handling between them. From questions asked to some senior drivers, no definitive effect seemed to be a concern. We recommend the forward of the two holes but drivers can experiment with both locations to see if they feel a difference.
You will get 2 new carbon fiber body post/side spring pieces. The side springs have 2 locations and will need new plastic inserts for them. The forward position can benefit a more aggressive driver or smaller tighter tracks. A snappier more aggressive rotation.
The rearward position will give a better balanced feel for high bite or more open tracks where balance is preferred. A more natural rotation while maintaining rear forward grip. There is an inner and an outer hole for both options. The outer hole will result in a similar effect as the A12 by making the spring feel stiffer. We recommend using the inner holes for either option and tuning with spring variations.
The rear damper will be used from the A12 and we recommend starting with 60K. Depending on tracks and drivers we believe a range from 50-80k will be a good starting point. This will really come down to driver preference and track conditions.
Rear Axle: For the rear axle you will get two 3d printed spacers to mount between the tube and pod plates. This will take up the bulk of the distance needed for ride height. The remainder of the distance will be adjusted by drivers using shims to fine tune. This spacer will also become the mount for the carbon fiber wing mount. The spacers will be labeled ‘A’ and ‘B’ for different ride heights. The ‘B; spacer is slightly shorter to help other brands of tires with smaller diameters.
Drivers will have to supply an axle and F1 hubs themselves.
Bodies and Wings – Drivers will have to supply these.
Battery –
One area we had no way around unfortunately was the battery. The A12 is designed for a 1S lipo, your standard shorty 2S will not fit. This was something we found out early and almost scrapped the project. Then we found that there is one battery out there in 2S form that does fit the 93mm length. R1 makes a 4600 ULCG 2S makes a pack that fits with out modification. We were told there is another but cant seem to find production of it anymore. Any 2S pack measuring 93mm will fit with no modification needed, just check ROAR Approval if youre gonna race any ROAR Sanctioned events.
NOTE: The only other option we had was to mill the upper chassis and honestly, sourcing and milling would blow this project up. Also with some tracks playing with the option of 1S 13.5 type of racing we figured this wouldnt be a concern if that change was ever made.
Designer Disclaimer: This kit is for the OG A12 cars. We looked at using the newer X and WC cars but the new design of the center pivot left us worried about the design working. We dont know the measurement differences with some of the newer cars so we cant verify things like pod plates or even the center damper working within our design. Honestly if anyone could tell us does the newer damper fit the older cars, or does the newer rear pods bolt onto the original chassis …. that could help other drivers. We do know the newer front roll center pivot is different.
Watch our Introduction video explaining the car and design of it Here. Its long but has complete details about the car and time frames.